It seems, “to app or not to app…” is no longer the question. In a blink of an eye we turned into an app-savvy (or, some would argue app-dependent) society. Using apps in education became a common practice for many of us.
It can be a great idea to have an app for some professional and research projects, or offer your students another way to access class materials and exercises, or perhaps have your students incorporate the results of a semester-long class project into an app.
But how do you take that step? Could you or your students build your own apps? The answer is most resounding “Yes, you can!”
But, you need to keep in mind the old saying called either the Iron Triangle, or the Triple Constraint: “Fast, Good, Cheap. Pick two.” In other words: Fast + Good = Expensive, Good + Cheap = Slow and Cheap + Fast = Inferior.
If you have an arm and a leg top spend, you could hire a developer. A recent study by Anypresence revealed that most companies paid between $25,000 and $100,000 to develop a mobile app.
But guess what? You can do it yourself on the cheap, and – no, you don’t need to know how to write code. There’s an app for that!
You can find literally dozens of companies online that provide tools to build apps using easy drag-and-drop approaches. Some tools are cloud-based and you will be building your app directly in the internet browser. Others come with downloadable publishing software.
All of the app builders I want to share with you in this post will allow you to build on either Mac or PC platforms. You also get a variety of publishing choices – you can create apps for iOS, Android, and in some cases Kindle, Nook, Blackberry, and Mac or Windows desktops as well.
Now let’s talk about pricing. The vast majority of no-coding app builders offer a free publishing plan to get you started. In most cases it means you can create your app and share it free, but it will only be available in a dedicated viewer app provided by the app builder. And in most cases you will have limits… on app features, the number of users who can access your app, the size of the app, etc.
So while your publishing path starts with the free app to get you in the door, before you know it, you find yourself looking at the paid plans to take it a step further and publish in either the Apple App Store or on Google Play.
All builders offer several pricing plans that typically range between $500 and $2,500 per app. You can expect to pay a bit more for extra customization, or if you want to publish what’s called a “White Label” app – an app that won’t have any references or logos of the app builder you chose, only your own logos and information.
I also want to mention that if you choose to go with one of the paid plans and publish for iOS or Android platforms, you will also need to create an App Developer Account (Apple: https://developer.apple.com/programs/ and Android platforms: http://developer.android.com/distribute/googleplay/start.html). While app builders provide a lot of information on how to create your App Developer Account, they won’t do it for you – it’s up to you to create your account and then provide it to the app builder so they can handle submitting and publishing your app to the app stores.
Most no-coding app builders provide templates as well as images to use within your app, so you won’t need to create any framework or design elements if you don’t want to. On the other hand, you can also find more flexible and customizable publishing options where you get to create every single screen from scratch and populate your app with your own images, animations and interactive features.
So, in no particular order, here is
my short list for you:
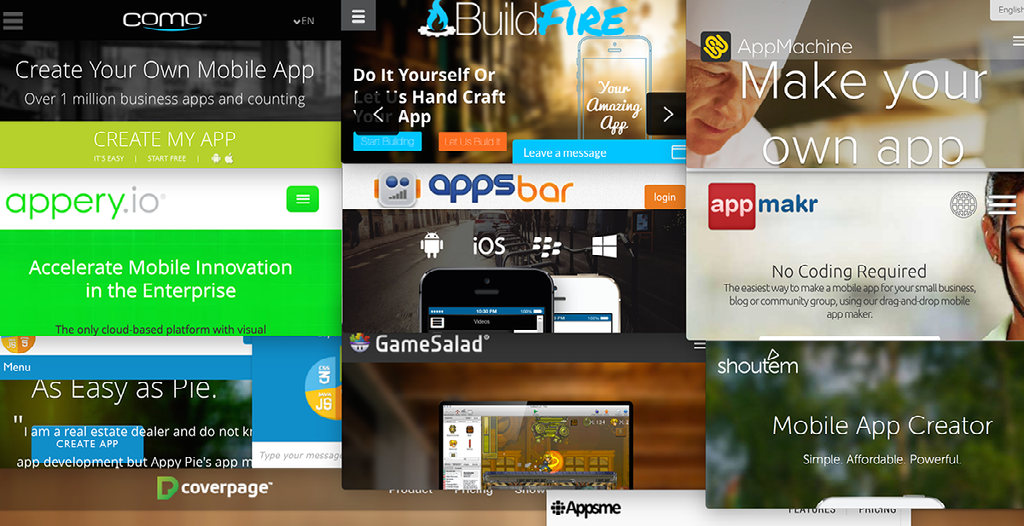
1. App Machine –
Slick and efficient.
Templates galore, easy to build, the support team will hold your hand (and wipe your tears if you pay for extra support options) all the way through building and publishing.
You build apps directly in the browser and you can download a viewer app on your iPhone/iPad to preview as you work, live. It features an easy to understand interface – you add content by adding “building blocks” that contain text, video, location maps, calendar of events, contacts, social media feeds, etc. You can add more advanced features if you choose one of the more expensive plans.
2. Coverpage –
Creative freedom.
You can design and rock your own content within a neatly structured navigation shell. No templates here. Download free Coverage Publisher to your computer and start building your app. First, create your app pages layout in applications like Adobe InDesign (or really any other app that allows you to build a jpg, png, or pdf). Then bring it into Coverage Publisher and add as many interactive elements as you want.
The website has all the help files you may need to get started and its team responds to help requests almost immediately. They make it easy to add app functionalities if you write code (or if you don’t code, you could find what you need in one of the online code repositories, (such as GitHub: https://github.com) and incorporate it into your app.
3. GameSalad –
Build your own games.
Another drag-and-drop builder. Publishing options depend on the plan you purchase and include iOS, Android, Kindle, Nook and Windows and Mac desktops. Provides choices of content such as graphics, templates, audio, etc.
GameSalad pays particular attention to using games in education. You can find a list of resources for educators here: http://gamesalad.com/education/resources-for-education and read what other educators say about incorporating game apps in their teaching: http://gamesalad.com/education/stories-from-teachers
4. AppsBar –
It’s free!
Yes, this builder is absolutely, completely, hundred percent free, no payment plans whatsoever, even if you ask for it. You can create HTML5 apps and publish to a free apps marketplace Appcatch: http://www.appcatch.com/
You could later publish your app to Google Play or Apple App Store, but on your own, so it probably won’t be as easy (for most users) as when you sign up for one of the plans with other builders.
5. Appy Pie –
Apps and games, plus some cool features.
Offers both apps and games publishing and provides a good variety of interactive features like Live Video Streaming with Ustream, or Geotargeted Notifications, etc.). On the website, you can take a look at some of the examples of educational and augmented reality apps recently created with Appy Pie.
6. Yapp
Publish your events through Yapp
The app is for publishing events. You can easily create and update the schedule and build social community around your events. One of the most user-loved features is the ability to use push notifications to reach your event participants.
You won’t need to worry about creating a developer account or going through the approval process to publish. Your app will be published within the existing Yapp shell for iOS or Android devices. You will share the link/name of your event app with the attendees, they will download Yapp and then access the app you created. Think of Yapp as a container to package and deliver your app to the event participants.
You can try it free for 14 days, then purchase on the of the publishing plans ranging from $399 per year for one user account and one app - to $599 for one app with multiple admin accounts and ability to add more apps (yes, you guessed it - for additional charge).
NEXT Post:
Innovate@ UMass Symposium Tools List: List of instructional tech tools to help you boost student engagement and learning outcomes.
Need help with your content production or marketing? Reach out!
Visit my website to book a consultation, a training session, or to request help on your media projects: