Assessment Task No 2
All specific student directions, submission dates and syllabus outcomes have been removed and this overview can be used as is.
The object of this series of lessons is to provide opportunities to develop an increasingly accomplished photographic practice in the areas of Studio Lighting and Portrait Photography. An extract from the Portraiture - Studio, Design and Location assessment document outlining the content rationale appears below.
The purpose of this assessment task is to
- Introduce students to the practice and technique of portrait photography.
- Develop conceptual meaning through the construction of selected images.
- Give students the opportunity to explore critical and historical investigations.
- Explore the photographic studio and the effects of lighting.
- Investigate the 'Frames' and their impact on photographic practice and theory.
- Experiment with a variety of printing and display techniques.
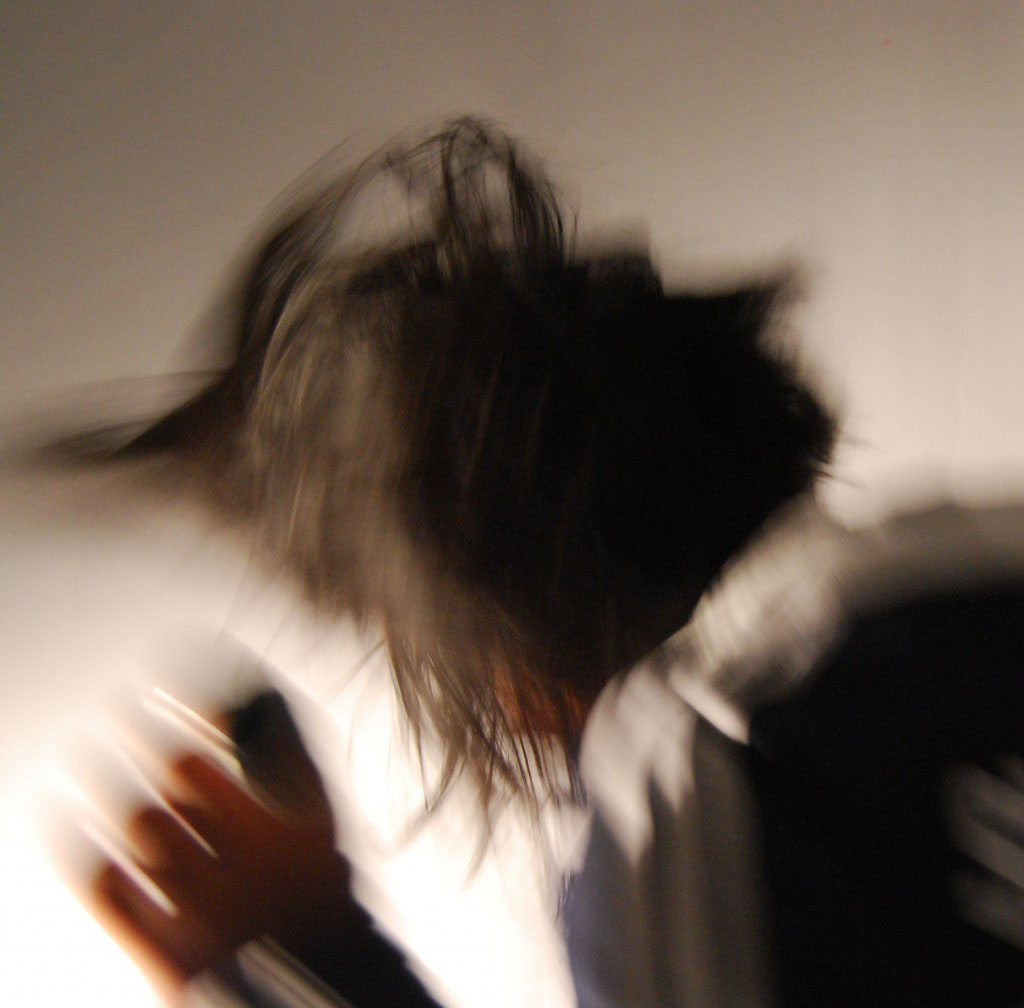
- Explore the differences between a snap shot and a staged photographic image.
- Experiment with a variety of presentation ideas.
By this stage you will have
- Provided a conceptual statement outlining the intent / rationale for your portrait series
- Completed a brainstorm of intended props, concepts/ideas, set-ups, lighting etc that will enhance your portrait images and reveal the personality/interests of your subject.
- Collected a range of portrait images of that investigate a variety of compositions, props and settings. You can obtain these from magazines, internet or books etc.
Ready to shoot? This is what you'll need
- DSLR Camera Kits
- Flash Units + Slaves
- Soft boxes, umbrella reflectors
- Stands, diffusers + backdrops
- Extension cables + powerboards
in the studio
Setting up the studio can be a little time consuming and this will be comprehensively demonstrated prior to the class being given access.
When you arrive for a shoot it's a good idea to have everything you need including those who are helping you set up and those who are modelling for you. Where possible source your models 'in class'. If you need someone outside of your photography class make sure you have formally negotiated their release with the HT of the KLA well ahead of time and that the approval is in writing. Organization and co-operation are essential if you are to make the best use of the available time.
As the studio is a secure space you may leave equipment set up if you so wish. If you are setting up in faculty space outside the studio it is essential that you pack up well before the end of the lesson and return all equipment to the store room.
Make sure that you synchronize your camera shutter settings to the flash unit. This is essential to avoid banding in your image. 1/ 200th of a second is the recommended setting for the cameras that we use.
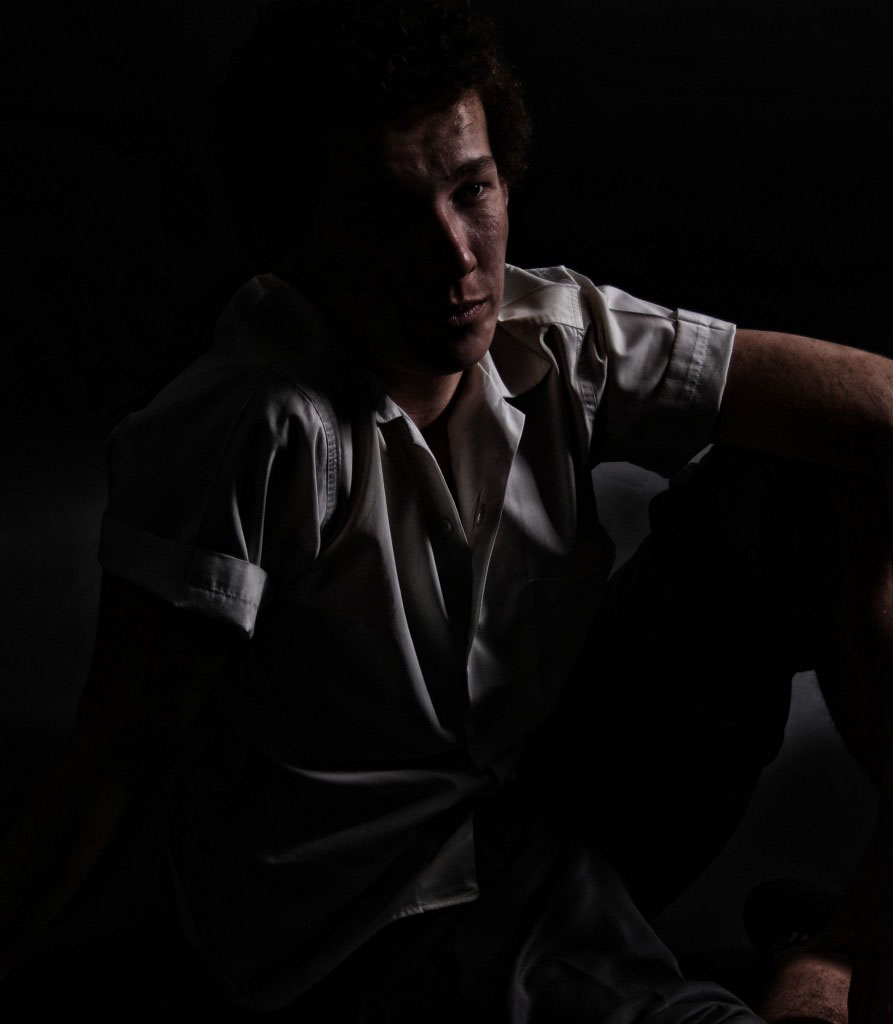
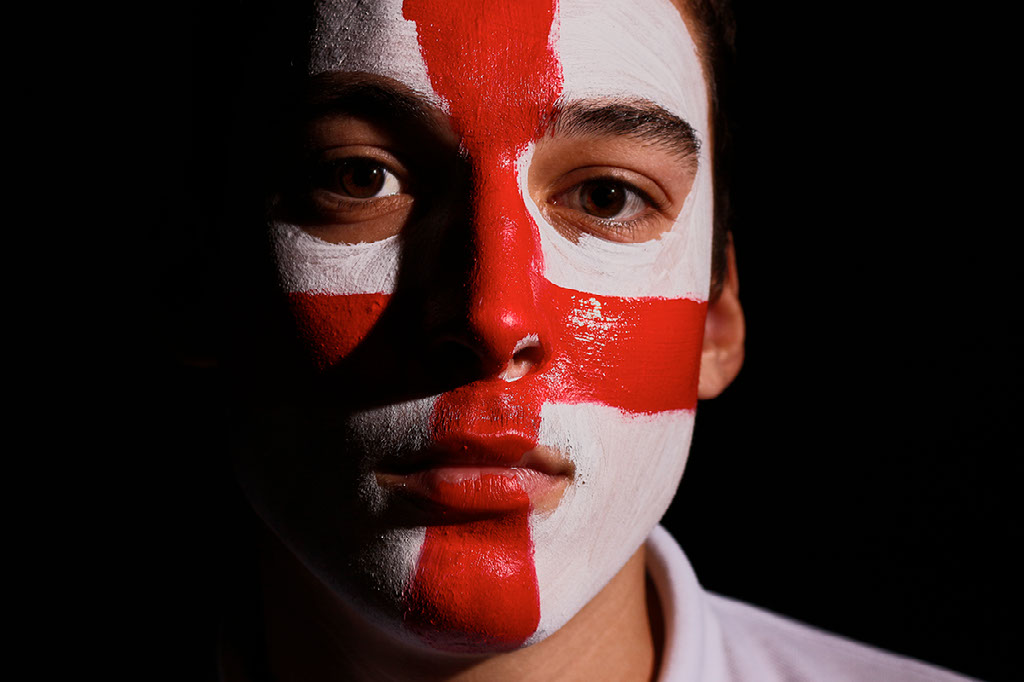
Lighting setups to explore.
As part of the accompanying coursework you have 4 lighting setups to investigate and document. You may research your own or use the suggested layouts shown below.
Look at what setups worked best for you and document four layouts for future reference and as part of your coursework by either drawing or photographing them. Add these to your folio taking particular note of any changes made to the flash head settings. Include images from related photo shoots.
As an art form and means of documentation the portrait is unique in it's manifestations across, painting, drawing, sculpture, printmaking and photography.
It's recommended that you shoot in RAW format. RAW is an uncompressed file type that has not had a demosaicing algorithm applied to the data that is written to the SD card. This gives you the best quality image to work with during post processing.
Some housekeeping essentials
- After each photo-shoot download the images from your card.
- Back up your images to an external drive.
- Back up your images to your Google drive account.
- Load you images into Lightroom and copy them into the 'Collection' folder you have made for this series.
- Re-format the SD card only after having checked with your teacher.
Select two images for submission to Moran Photography Prize 2017
Access supporting documents, useful links and related coursework below.
Credits:
Images from graduate students @ Wyndham College