Lesson 3
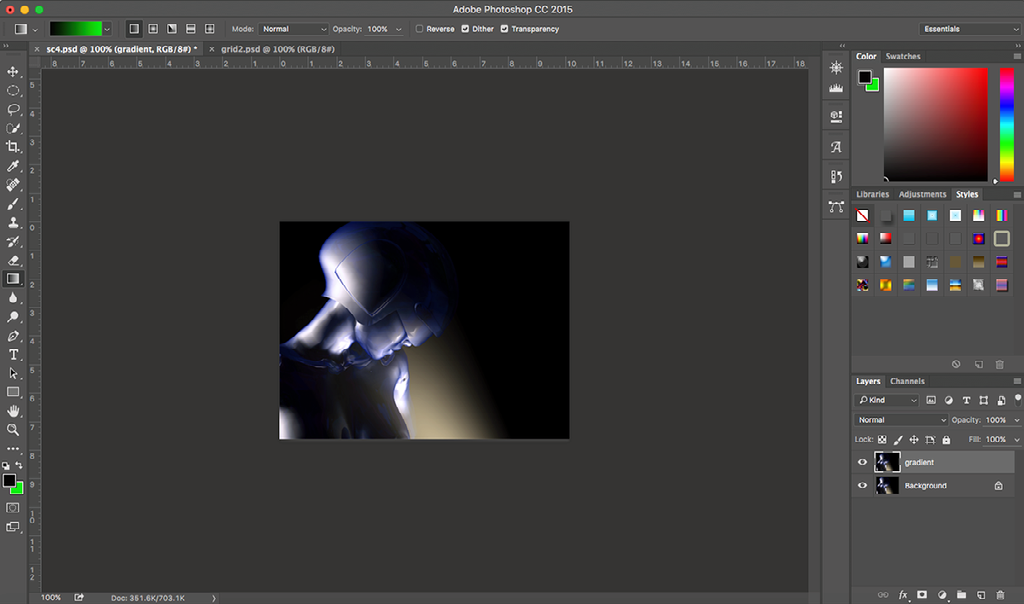
- Open the files “sc4.psd” and “gride2.psd” from the ‘Working with Masks’ folder.
- Drag the file “sc4.psd’ onto the New Layers Icon to create a copy of it. (Fig 1a)
- Name this layer “Gradient” (Fig 1a)
- Click on the “Gradient” layer. Go Image > Adjustments > Hue/Saturation.(Fig 2a)
- Set the Hue to -32 and the Saturation to +24. Click OK. (Fig 2b)
- Click on the “Grid 2” file and open in Photoshop.
- Go Select > Select all (Ctrl A PC - Cmd A Mac) then Edit > Copy. (Ctrl C - Cmd C)
- Click on the ‘sc4.psd’ file and go Edit > Paste. (Ctrl V - Cmd C)
- Label this new layer “Effects”. ( Fig 3)
- Click on the “Effects” layer. Go Image > Adjustments > Invert
- Go Select > Colour Range. (Fig 4)
- Click on the largest black area (under her chin). Click OK (Fig 5)
- You now have an active selection
- Add a Layer Mask, by clicking on the “Add Layer Mask” icon in the layers palette.
- Set the Blending mode to “Screen” and the opacity to 72%.
Save this file as Mask 3 in both PSD and JPG
Lesson 4 -Clipping Masks
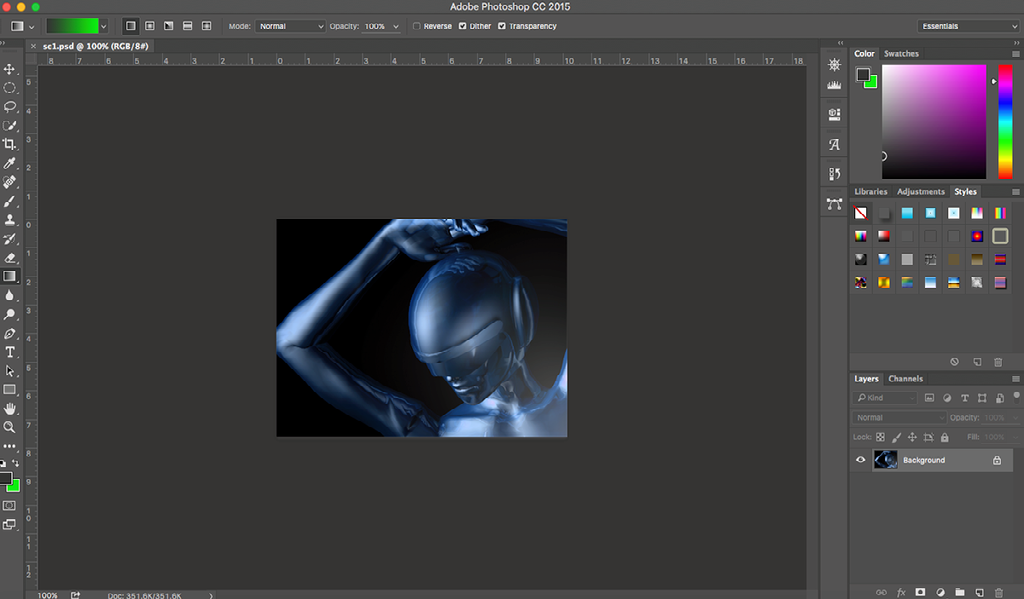
- Open ‘sc.1.psd’ file from the “Working with Masks” Folder. (Fig 1)
- Copy the layer by dragging it onto the New Layers Icon in the Layers Palette.
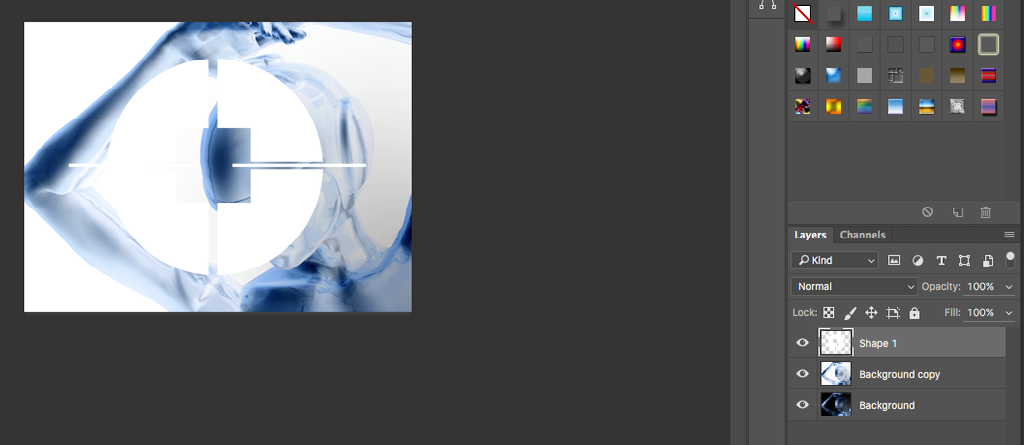
- Move the layer“Shape1” so it sits above the original back-ground layer.
- Now hold down the ALT KEY (PC) Option Key (Mac) and position the mouse pointer on the line that divides the layers “Background Copy” and “Shape 1”. NOTICE: The shape that appears.
- Left click mouse.
- We are creating a “clipping group”.
- The 'background copy' now appears superimposed on the original 'background' via the shape layer.